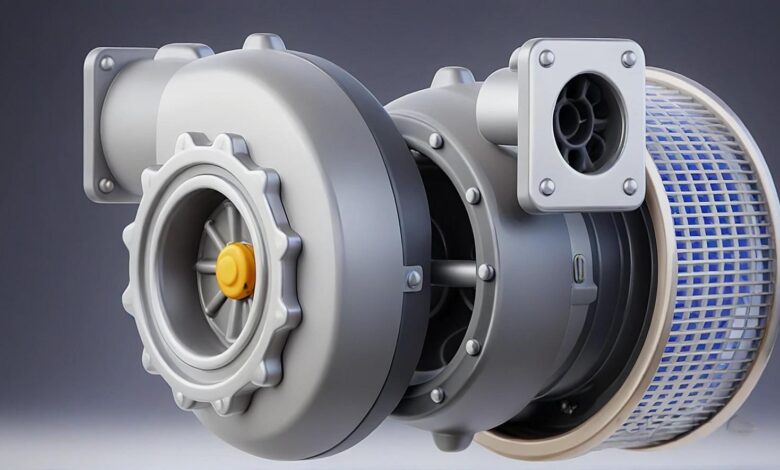
Turbocharger Silencer Overhaul: Your Step-by-Step Survival Guide

How to Remove, Dismantle, Clean, and Refit a Turbocharger Silencer Onboard a Ship (Without Losing Your Sanity) 🚢
Ah, the life of a marine engineer: glamorous sunsets over the open sea, the gentle sway of the waves—and the never-ending thrill of disassembling grimy turbocharger silencers. If you’ve ever thought, “Wow, I wish I could spend my day wrestling with bolts and carbon deposits,” you’re in for a treat. Let’s break down the steps for removing, dismantling, cleaning, and refitting a turbocharger silencer on a generator. Spoiler alert: it’s about as exciting as it sounds, but hey, at least you get to play with WD-40.
Step 1: Removing the Turbocharger Silencer
Safety Precaution: Don’t stand underneath the turbocharger while removing bolts unless you enjoy dramatic life choices. ⚠️
- Strip the Turbocharger Casing
Remove the lagging from the casing because, obviously, nuts and bolts love being hidden under insulation. Also, admire the obligatory warning stickers screaming, “Don’t stand here.” Truly inspiring. - Mark Your Territory ✍️
Before you remove the silencer, slap on some markings. Future you will thank present you when it’s time to align everything back together. If not, prepare for a game of “Why doesn’t this bolt fit anymore?” - Bolt Loosening: A Masterclass
Grab your tools and start removing nuts, all eight of them. These aren’t your regular, run-of-the-mill nuts; they’re special high-temperature ones. Translation: don’t lose them unless you enjoy explaining things to your supervisor. - Lifting Arrangements
Use a D-shackle or belt to lift the silencer. Note: attempting to lift it with a single bolt in place is the engineering equivalent of eating soup with a fork—messy and doomed to fail.
Step 2: Dismantling the Silencer Filters
Now that the silencer is out, you’ll notice the filters inside. These beauties are clogged with carbon deposits that resemble the inside of your morning coffee machine—if you never cleaned it.
- WD-40: Your New Best Friend
Spray the clips securing the filters to loosen them up. These clips are rare and irreplaceable, so guard them with your life. - Remove Filters Like a Pro
The technique is simple: one person pushes from one side, the other pulls from the opposite side. If that fails, try bribery or threats (directed at the filter, of course). - Beware of Sharp Edges 🩹
Those filters love cutting fingers. Gloves are your ticket to avoiding an impromptu first-aid session.
Step 3: Cleaning the Filters
After disassembly, it’s time to clean the filters, which are coated in enough dirt and carbon to make a coal miner blush.
- Choose Your Cleaning Agent
You can soak the filters in hot water with soap, chemical agents, or ultrasonic cleaning. If you’re feeling fancy, heat the water to 100°C for an extra dramatic effect. - Patience, Grasshopper
Leave the filters soaking for a few hours—or overnight if you’re feeling lazy. Come back the next day, rinse, and blow air through the filters to ensure they’re squeaky clean.
Step 4: Reassembling the Silencer
Now comes the part where you put everything back together. Spoiler: It’s like reverse IKEA assembly but with sharper edges and heavier parts.
- Fit the Filters
Slide the cleaned filters back into the casing. Make sure they align properly with the grooves. Remember, forcing them in is not an option unless you’re aiming for permanent damage. - Secure the Jubilee Clips
These clips are tiny, stubborn, and will test your patience. Loosen them first, position them over the filters, and tighten them slowly. A screwdriver helps, but your sanity might not.
Step 5: Refitting the Silencer
Finally, it’s time to put the silencer back where it belongs—like a champion completing their quest.
- Check Your Tools 🔧
Use proper lifting equipment, such as chain blocks and D-shackles. Make sure all lifting tools are in good condition because dropping the silencer is not the drama you want today. - Mind the O-Ring
The O-ring is the unsung hero of this operation. Apply a coat of moly grease or copper slip to ensure it stays intact during fitting. - Align and Tighten
Position the silencer so the bolt holes align perfectly. Once you’ve secured one or two bolts, you can breathe a small sigh of relief. Tighten everything according to the manufacturer’s instructions—because winging it here is not the vibe.
Common Mistakes to Avoid
- Losing the Nuts/Clips: These are special parts, and losing them will make you special—just not in the way you want.
- Skipping the O-Ring Check: A damaged O-ring means leaks, and leaks mean double the work later.
- Using the Wrong Tools: Lifting with your bare hands isn’t an option. Neither is duct tape.
Conclusion
Congratulations! You’ve successfully navigated the thrilling world of turbocharger silencer maintenance. Go grab a coffee or whatever celebratory beverage you prefer—just don’t spill it on your newly cleaned filters. Remember, the ship’s generator depends on you, so don’t let it down. 🌊
Now, wasn’t that fun? 😏


