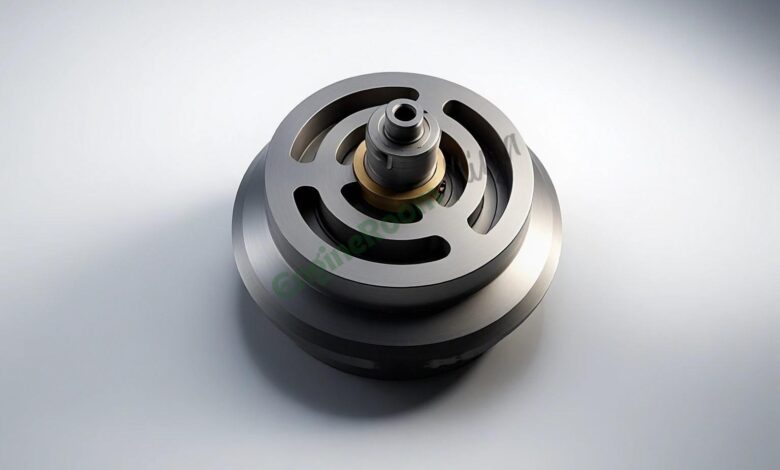
From Rookie to Pro: Refit HP Valves with Confidence

How to Remove and Refit HP Valves for a Tanabe Main Air Compressor: A Guide for the Truly Thrilled
Valve maintenance: not exactly the rockstar of engineering tasks, but hey, someone’s gotta do it. Whether you’re a fourth engineer looking to impress or a wrench enthusiast chasing their next adrenaline rush, this guide is your step-by-step ticket to mastering HP valve removal and refitting on a Tanabe main air compressor. No frills, no fireworks—just torque, patience, and a bit of anti-seize.
Safety First (Because Losing Fingers Isn’t Cool)
- Switch off the power. This one’s non-negotiable. Unless you enjoy high-voltage surprises, make sure the compressor is off before you go full “tool time.”
- Close the outlet valve. Think of this as putting a leash on air pressure—it keeps other compressors from rudely joining your workspace uninvited. No one likes surprise blasts of air mid-operation.
💡 Pro Tip: Double-check that all pressure is drained. Trust issues aren’t cute, but they are lifesaving here.
Step-by-Step: The Art of Valve Surgery
1. Mark Your Territory
Before dismantling anything, use a marker to label the flange’s orientation. Why? Because putting it back wrong guarantees confusion—and an awkward talk with your boss.
2. Unbolt Like a Pro
- Grab a proper spanner (not the prehistoric tool from the bottom of your box).
- Loosen all flange bolts evenly, turning each just a bit at a time in a cross pattern. This avoids stress points.
- Keep an eye on your tools—no one wants a spanner launching across the engine room.
3. Pry It Open (Gently)
- Look for the jacking bolt holes on the flange. Use these to separate the flange without damage.
- If no bolts are available, tap lightly with a screwdriver to break the seal. Lightly, not Thor-style.
- Inspect the O-ring for wear or damage. A torn O-ring? Congratulations, you’ve just added “replacement shopping” to your task list.
4. Extract the Valve
- Use the special valve extraction tool that came with your compressor (it’s probably covered in dust).
- Attach the tool to the valve, give it a firm but steady pull, and remove it. If the valve refuses to budge, apply a bit of controlled brute force.
5. Inspect and Clean
- Check the valve for scoring, rubbing, or excessive wear. If it’s seen better days, replace it.
- Look for the copper gasket. These little guys love hiding due to carbon deposits. If it’s stuck, carefully pry it out.
🔥 Optional Fun: Reusing the gasket? Anneal it by heating to remove stress, but don’t go full pyromaniac. Precision is key.
6. Clean the Flange Area
- Use a buffing tool or a clean rag to remove carbon buildup from the flange.
- Make the surface spotless—because a dirty flange means leaks, and leaks mean inefficiency.
7. Reassemble Like a Boss
Reverse-engineer the disassembly process:
- Fit the valve using the extraction tool for guidance.
- Align the flange marks to ensure proper placement.
- Tighten the bolts in a cross pattern. Even pressure equals a perfect seal.
⚡ Torque Specs Matter! “That feels tight enough” doesn’t count as a valid measurement. Use a torque wrench for precise results.
Common Mistakes to Avoid (AKA “Don’t Be That Guy”)
- Swapping valves. Suction valves go where suction valves belong. Ditto for discharge valves. Mixing them up leads to chaos, not compression.
- Ignoring gasket condition. An old or damaged gasket will sabotage all your hard work. Either replace it or anneal it.
- Skipping torque specs. Tighten bolts to manufacturer-recommended specs. Trust me, guessing leads to leaks—or worse.
Conclusion: Valve Mastery Unlocked
And there you have it. You’ve successfully removed and refitted HP valves like a seasoned pro. Bask in the glow of your mechanical prowess, then move on to the next job on your never-ending list of engine room thrills.
If you have questions, feel free to ask (or mutter them under your breath while inspecting the next flange). Until next time, keep your compressors happy and your fingers intact. 👨🔧

